

Sink is one of the most important item in a full functioning kitchen, it gets old unfortunately or start leaking and that can be very irritating. Knowing how to fix it saves time and money. If you’re anything like me you’d go for anything that saves you money and time (that’s the only thing we should be saving on earth, I can say). In a nutshell nobody should waste money on plumbing if you have hands and you can read.
When the problem is beyond repair, you’ll definitely need a new sink, and apart from just solving the problem, your kitchen will look great and beautiful. We all love new stuff, right? Good looking kitchen makes your work in there enjoyable and less boring.
In this article we take you through a step-by-step guide on how to remove and replace the kitchen sink, at first it will be clean and easy then it gets messy and smelly. You’ll hate the process and definitely fall in love with the results. That being said let’s get working already;
Removing the Kitchen Sink
Before doing anything clear the kitchen countertop. This will allow you to remove the kitchen sink without any distraction.
What Do You Need?
- Adjustable wrenches
- Pliers
- Screwdriver
- Stanley knife or similar
- Small bucket
- Old towel
- Eye wear
- gloves
Step by Step Guide on How to Remove Your Kitchen Sink
Step 1. Asses the type of sink that you have.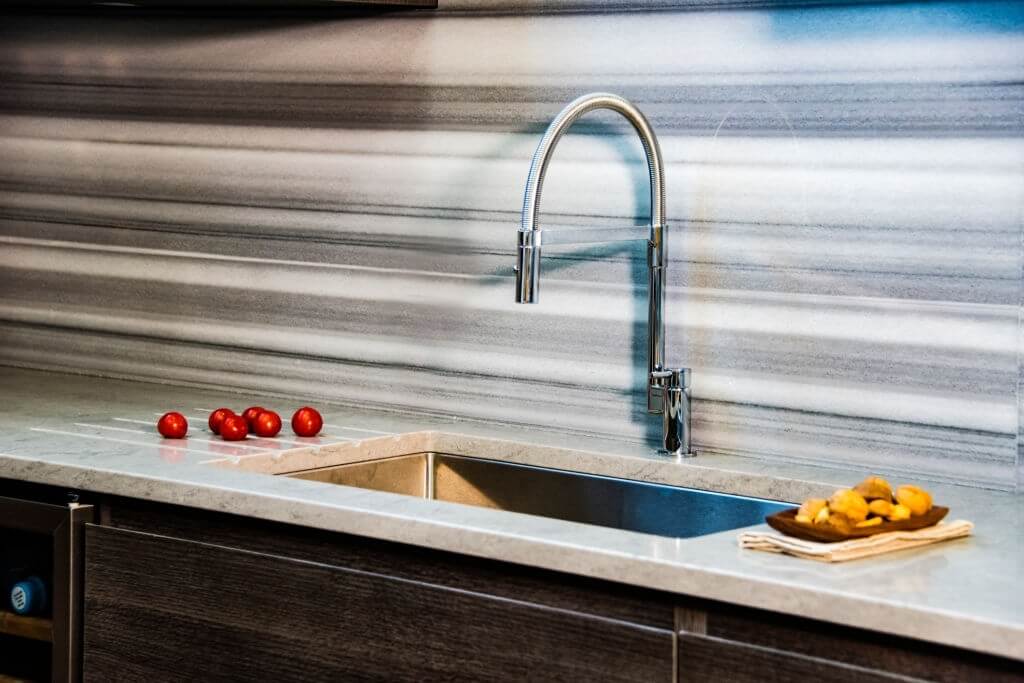
You obviously know this but I’ll mention, that kitchen sinks come in two fundamental designs: the under-mounted, which are normally attached to the countertop from underneath, or drop-ins, which, just like the name suggests drops into the sink opening in a countertop. There are only slight differences in how to remove each kind of sink and I’ll mention as we go on.
Step 2. Open the cabinet under the sink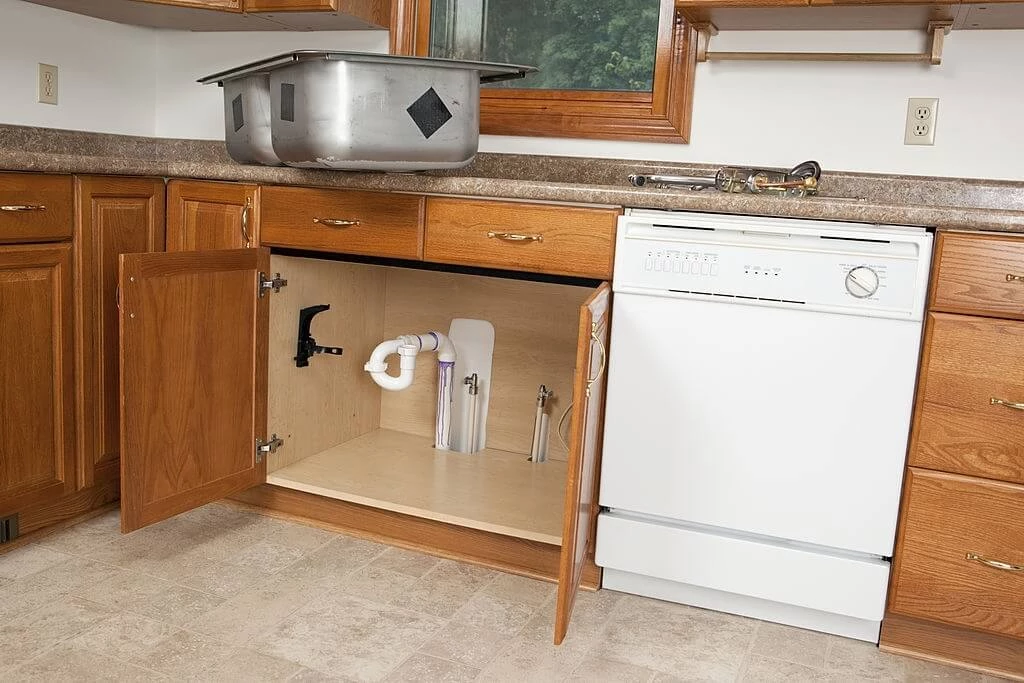
We need space here because our work will be done here half of the time. So get everything that you can out. It will give you more space to put the basket and tools. So clean out everything you can from this space.
Step 3. Put on your protective gears. 
The under sink area is small and confined, with lots of pipes and other hazards to your eyes. This job can also be messy and hard on your hands, so wearing protective gear is a good idea. Remember that wearing personal protective equipment is very important since it saves you from pain and injuries in the long run.
Step 4. Turn off your water supply to the sink
Shut off in a clockwise direction the red and blue valves below the sink. The red one is normally for hot water and blue for cold water. Double check that they are closed by turning on the water in the sink. A few drips at first is okay but the flow of water should be gone. If there’s a problem, you can shut off the water from the main valve in the entire house.
Step 5: Disconnect the water supply lines from the underside of the faucet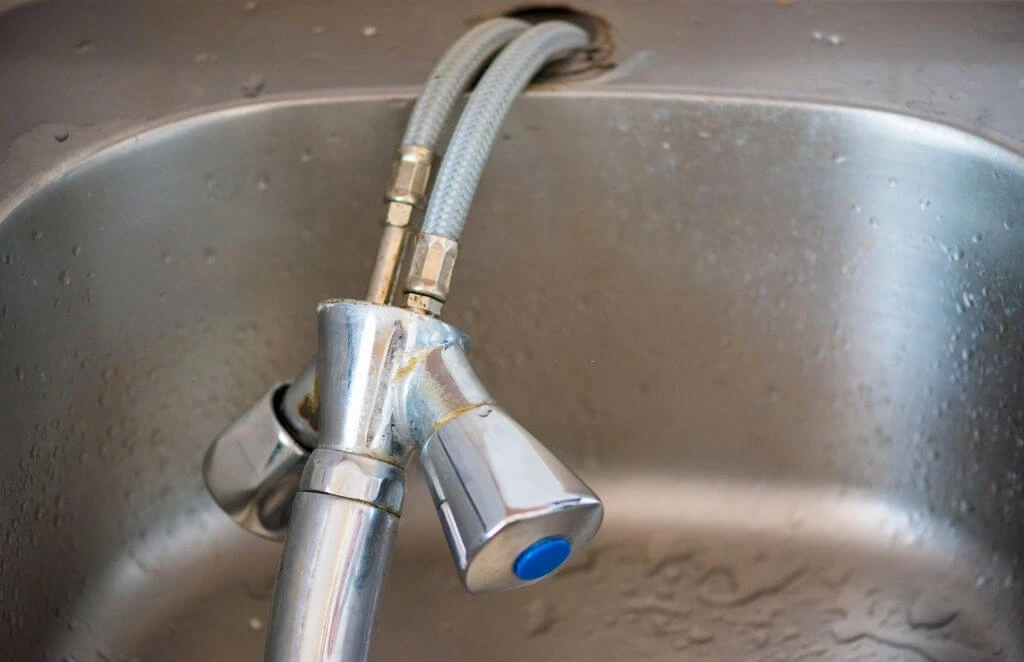
Water supply lines that connect to kitchen sinks are most often flexible plastic tubing that connect on both ends, at the sink and the water shut off valve, with metal nuts. Use an adjustable wrench, to loosen the nut on the water line, Hold the line in place with one hand while you loosen the nut with the other, so that when it becomes disconnected you can keep the line upright. A bit of water will still be in the line, so have a bucket handy to pour out the water trapped in the line.
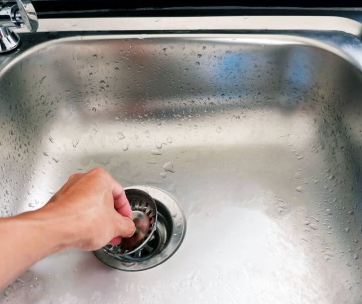
Step 6: Disconnect the drain pipe from the sink
The drain pipe is connected at the bottom of your sink strainer with a slip nut, that connects plastic drain piping to a metal sink strainer. First loosen the nut that attaches the strainer to the drain pipe with adjustable wrench.
This is normally a plastic nut that can be loosened by hand, with a little strength of cos. When this nut is loose don't pull the connection apart yet! You will also need to loosen the slip nut at the far side of the P-trap, which is a distinctive J- or U-shaped span of pipe in the drain line under the sink. Loosening this nut as well should allow you to take off the whole piece of piping between the strainer and the far side of the P-trap without damaging the piping. Remember to keep your bucket handy to capture spills
If you have a sink that is mounted underneath the counter, you may need to remove more drain piping in order to have space for the sink to come out. Remove your drain pipe further past the P-trap, giving space for the sink to be angled out. Whatever you take out can easily be replaced, as long as you leave at least an inch of pipe sticking out from where it enters under the sink area.
Step 7. Remove the sink
With everything safely disconnected and the connecting clips pushed in, you can now push up from the underside of your kitchen sink and remove the old unit. With the area cleared, use a putty knife or flat metal tool to clear all remaining sealant and grime from the rim of the counter top cut off.
Do You Need to Cut Out the Countertop To Fit in the Sink?
If the sink you are installing is different from the one you just removed, the dimensions might be different and you will definitely need to cut out the countertop to fit the new kitchen sink. Below are 4 steps you need to follow to cut out the kitchen countertop.
What Do You Need?
- pencil
- Power saw
- Jigsaw
- Drill (+10/15mm drill bits)
- File or sandpaper
- Waterproof sealant
Step by Step Guide on How to Cut Out the Countertop To Fit in the Sink.
Step 1: Mark Out Your Sink On the Worktop
Place your new kitchen sink upside down on the underside of the counter and outline it in pencil. Make sure the counter is flipped so that you can mark the counter top’s actual surface. Now move the sink out of the way and add its manufacturer’s recommended extra depth (usually 10mm) inside of the first line you drew.
Step 2: Drill Holes Using Your Markings
Using your drill, make four holes in the corners of the inner lining that you’ve drawn.
Step 3: Cut Out the Worktop
Using your jigsaw, carefully cut along the inner line. Ensure that you have properly supported the area of worktop so that it does not collapse mid-cutting.
Step 4: Smooth Down the Edges
Smooth down the edges of your counter top cut out with your file or sandpaper then coat the inner rim with waterproof sealant and leave to cure.
Installing a New Kitchen Sink
What do you need?
- Plumber’s putty
- Silicone sealant
- Screwdriver
- Pliers
- Adjustable wrench
Step by Step Guide on How to Install Your New Kitchen Sink
Step 1: Attach The Clips.
First, attach the clips to the underside of the kitchen sink and fold them in toward the sink bowl.
Step 2: Fit Your Kitchen Faucet
Next, take the faucet from the previous sink or slot them into the corresponding holes on top of the sink, ensuring you follow the manufacturer’s guide on all present spacers and O-rings.
Step 3: Fit The Strainer
Take your drain strainer and apply a small consistent ring of plumber’s putty around the underside of its lip. Screw it in tightly, ensuring a smooth fit with the putty. Lean the kitchen sink on its side and apply the rubber gaskets and threaded flange to the underside of the drain strainers.
Step 4: Add Sealant to Your Sink
With all of your sink equipment connected to your new kitchen sink, run a bead of silicone sealant around the underside of the edge of the sink.
Step 5: Lower Your Sink into The Worktop Cutout
Carefully lower the sink into your counter top cut out ensuring that you set the unit squarely.
Step 6: Tighten Up the Metal Clips
Time to dive back under and flip those metal clips outward then get out the trusty screwdriver and tighten them up against the underside of the counter top, locking your new kitchen sink into place.
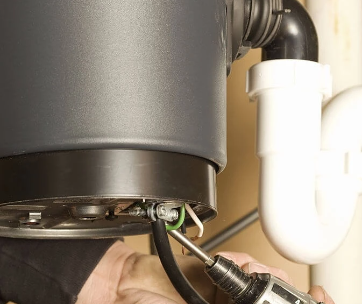
Step 7: Connect The Water Supply
With the kitchen sink secured, take your adjustable wrenches and connect your kitchen faucet lines back to your home’s water supply lines. Be extremely careful when attaching these that the threads are lined up so as not to strip the threads. When everything is in place install your kitchen faucet. You will find detailed guide on how to install kitchen faucet here.
You can’t relax just yet – first, we must run the system and check for leaks.
Step 8: Add Sealant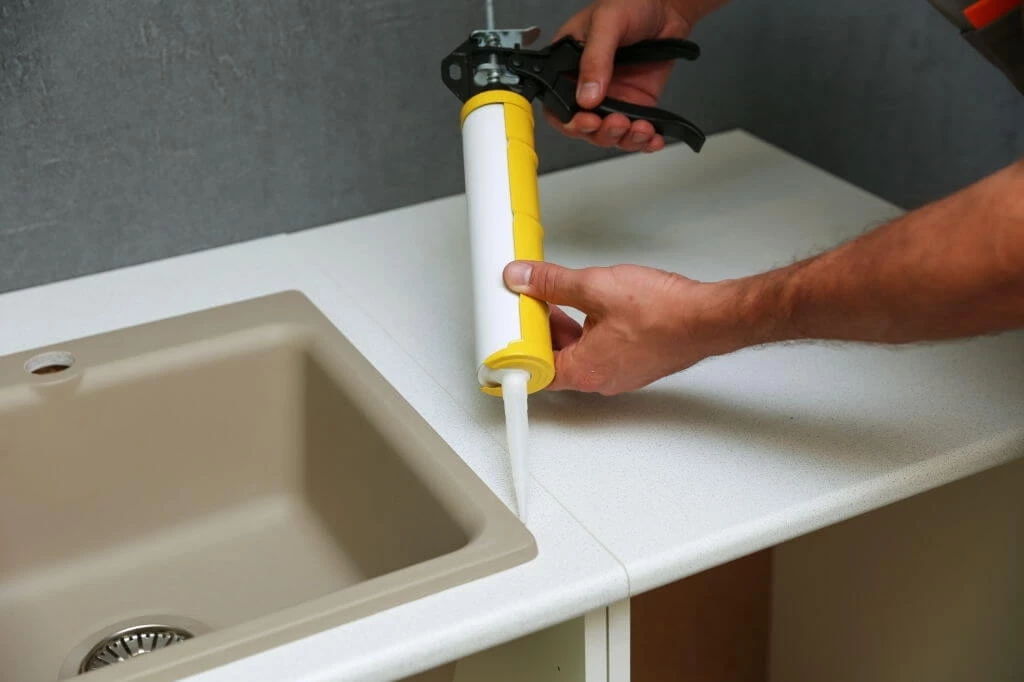
If you are sure everything is connected correctly and there are no leaks, you can run a bead of sealant around the top edge of the sink to create a waterproof seal. Remember to allow this to cure properly before using your sink.
Conclusion
You realize that kitchen sink removal and replacement is a DIY process and you don’t need to call a plumber to do that for you. However, be careful not to damage other items like pipes due to tight connections. I am 100 % sure you will save a dime following the above steps.
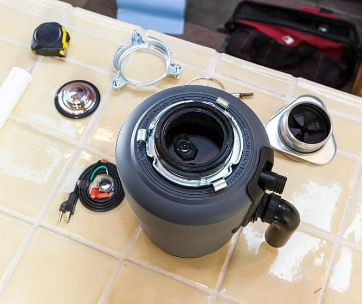
Remember, when your kitchen sink is in place, you will need to install back your kitchen faucet and kitchen sink drain or food waste disposer which is otherwise known as garbage disposal.


Comments