
Receive greetings from Kitchen Eminence!
Kitchen faucets are a must-have in every kitchen. So, your kitchen is no exception. But many people wonder if they can install a kitchen faucet by themselves, and we believe that that's the reason why you are here.
The answer to your inquiry is a resounding YES! Installing or replacing is among the most straightforward do-it-yourself activities. Therefore, if you are passionate about DIY projects, you shouldn't spend time and resources outsourcing plumbing work for your kitchen faucet replacement.
But first, you will need to master the necessary steps on how to install a kitchen faucet. That, too, should not be a significant problem as we will provide you with a step-by-step guide on how to replace a kitchen faucet.
If you are wondering whether this article is about faucet replacement or faucet installation, you must know that the steps are pretty much the same. Moreover, this guide applies to all types of faucets.
4 Vital Things You Should Know Before Replacing a Kitchen Faucet
While you can easily skip this part and jump to the step-by-step guide, we think that this is pretty vital as it helps to make the installation process faster and more efficient. It consists of the prerequisites that you need to consider before you commence the faucet installation process or a full-blown kitchen renovation.
Choose The Right Replacement
Well, this is often the most significant factor to consider when you set out to replace your kitchen faucet or install a faucet on a new pre-mounted sink. Since you will most likely opt for a different faucet model than the old one, a faucet goes beyond style, finish, and type to vital installation configuration requirements. And the most important factor when it comes to this is the number of mounting holes.
Faucets come with various hole configurations, often ranging from one to four holes. Check out the sink deck to determine the number of holes that exist. If you find three holes then you will need a faucet that installs on three holes.
However, it is essential to note that there are often certain exemptions. While choosing a four-hole faucet to mount on a sink deck that has only two holes may be impossible unless you drill in extra holes on the deck, you can conveniently mount a two-hole faucet on a deck with three or four holes. All you will need is to order base plates to cover the remaining holes.
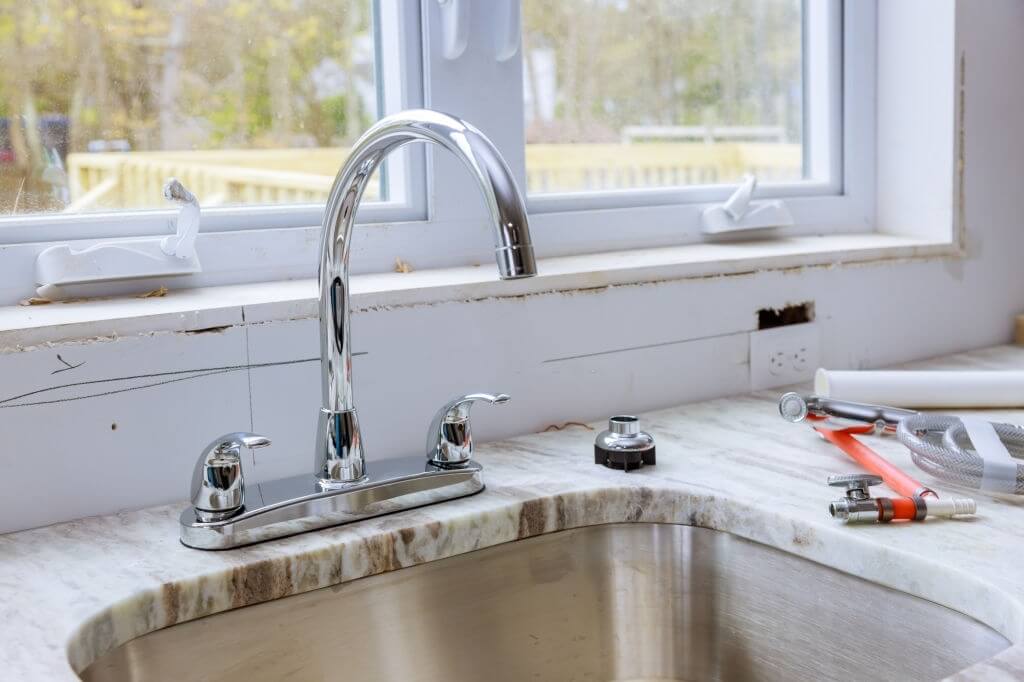
Shut Off the Water to The Sink
Ensure that you shut off the water to the sink before you begin the installation process. Generally, this is a cinch that only involves turning off the valve that supplies water to the sink. The valve is always on the valves located at the bottom of the sink or on the sides of your sink.
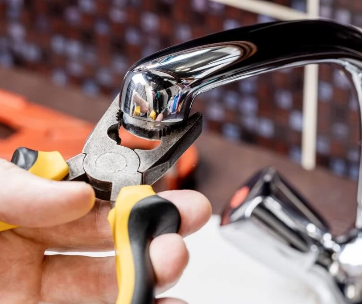
Occasionally, you will find the valves almost impossible to budge, particularly if your sink is aged and the valves are too rusty. You can either use locking pliers to grip the valves or apply moderate heat on them to loosen them and make them easier to operate. Beware that using excess force could break the valves and cause flooding.
Finally, there are situations when locating or opening the valve to the sink becomes a mission impossible. In such situations, locate the main valve that controls the water supply to the entire home and turn it off as you cannot commence the faucet replacement process with the water ON.
Removing The Old Faucet Can Be a Nightmare
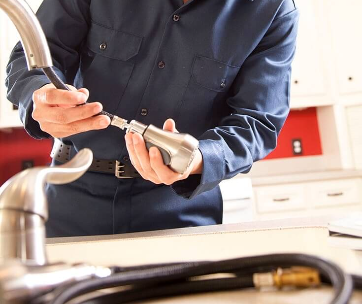
Can you remove an old faucet? The process always seems pretty straightforward. However, it is easier said than done and it would be best to prepare yourself properly for the assignment.
You need to arm yourself with the right tools. Interestingly, the same tools will help you when installing your dream kitchen faucet. The hardest part of the removal process always involves locating and accessing the nuts that attach the faucet to the plumbing system. Since the attachment point is often under the sink, you will need strong lighting to illuminate the area and a good adjustable wrench to grip and loosen the nuts.
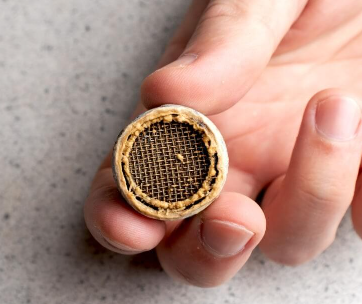
Measure The Supply Tubes
While your faucet will change, the supply tube and the sink will not change. Check the condition of the supply tube and measure it to check out the fit with the faucet components. If they are not in the right condition, you can buy a new set.
An Elaborate Guide on How to Replace a Kitchen Faucet
With the above prerequisites, this process will undoubtedly move flawlessly. The following steps are ideal;
Removing The Old Faucet
How to remove a kitchen faucet remains one of the questions that many people ask before they embark on the process of repairing or installing a faucet. And as we already stated, this is not a complicated process as long as you can deal with the rusty nuts.
After you turn off the water as described above, you can utilize the following steps to follow when removing the old kitchen faucet;
- Clean underneath your sink for dust and dirt buildup. You can use towels, water, and a bucket for the residue.
- Unplug the garbage disposer and shut off the circuit breaker in the service panel. Also, remove any accessories under the sink. These could include old vases, cleansers, and buckets.
- Lie under the sink to access the faucet connections.
- Pull out the P-straps and drainage pipes that drain the sink as they will block your access to the faucet.
- Now, use the adjustable wrench to loosen the nuts for the water liners. As for the shanks, you can use a basin wrench to unscrew them.
- Detach the kitchen faucet and take it out of the sink deck.
- In case the old model has a side sprayer, unscrew it from underneath the faucet body or simply take the C-clip off it.
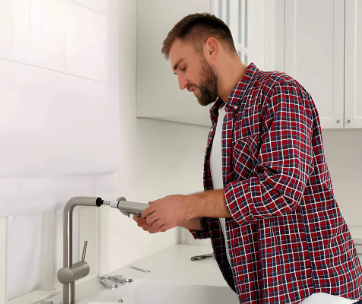
Replacing the Faucet or Installing a New Faucet
Now that you already have an empty deck, you can begin the installation process. But before you begin, you need to ensure that you have all the tools and materials needed for the job. The process is easier if you are at least two people.
You will need the following tools, equipment, and materials;
- An adjustable wrench
- A thread tape
- Putty or silicon caulk(optional)
- A cover plate(optional)
Now, pay attention to the following steps;
Step 1. Set the deck plate. You can consult the manufacturer's installation manual on the need to use caulk or putty.
Step 2. Take the gasket and align it at the foot of your new faucet. But you should note that you do not need a gasket if you will use an escutcheon on a 3-hole faucet.
Step 3. Feed the faucet lines into the holes from the top of the deck.
Step 4. Affix the necessary assembly hardware from under the sink. Wipe out any excess plumber's putty or caulk from beneath the sink if you used any.
Step 5. Secure the shank with the mounting kit by using the water and the nut, respectively. A basin wrench should help you secure the mounting clip over the shank.
Step 6. Before you finally tighten the nut, check if the faucet has the right alignment to your sink.
Step 7. If there are any thread parts, use your thread tape to provide extra sealing and avoid any leakage.
Step 8. Correct the supply lines taking note of which side should go to the cold or hot water lines. You can use adaptors to correct any size differences between the new and the old connections. Use an adjustable wrench to secure the connections but ensure not to overtighten them.
Step 9. Turn on the water supply from the sink water supply valve or the main valve depending on which one you used to turn off the supply.
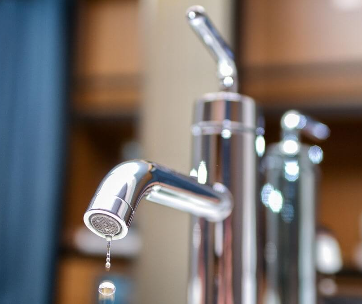
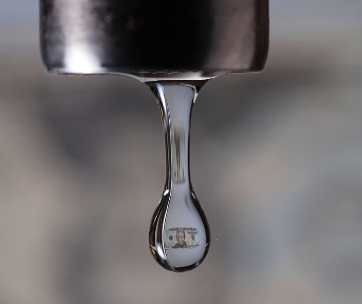
Step 10. Turn on the handle to check for leaks and flow rate. If your faucet is double-handled, turn the handles in turns beginning with the cold one. In case of any leakage, fix it with tape and tighten it properly.
Step 11. Let the faucet run for about 3 minutes to clear the pipes.
While the above procedure should help you fix a standard dual-handle or single-handle faucet, there are other accessories that you may need to include. For example, a kitchen faucet that comes with a tailpipe for mounting a side sprayer means that you will need to plug in the pipe and connect the sprayer. The manufacturer's installation manual often contains the instructions for this.
Again, you should note that pull-down and pullout models come with long hoses and there is a risk of water running down under the sink during installation. Please use a bucket or any container under the sink to avoid flooding your kitchen.
Installing Pulldown and pullout Kitchen Faucets
There are two aspects of the pulldown and pullout faucet models that you will need to take care of; the long hose and the counterweight that enhances the self-retraction of the head.
Before you connect the hose to the tailpipe, you can take care of it by sliding it all through the spout. You can then dock the spray head. Secure the spray head with tape to ensure that it conveniently stays in the correct position as you continue with the installation process. However, securing the spray head may not be necessary for models with magnetic docking mechanisms.
Since the standard procedure applies, follow it through to step 11, and continue as follows;
Step 12. Attach the hose and the counterweight and use the provided connector to establish a connection between the two and the tailpipe. Interestingly, counterweights come in two designs. There are those designs that require you to run the hose through them before connecting to the tailpipe and those you can attach after connecting the counterweight and hose to the pipe.
Step 13. Clear everything on the underside of the connection and test the self-retraction of the spray head. You can move the counterweight higher or lower to get the best placement for efficient self-retraction.
Step 14. Turn on the water into the faucet, turn on the handle, and look out for any leaks. Again, let it run for about 3 minutes to clear the system.
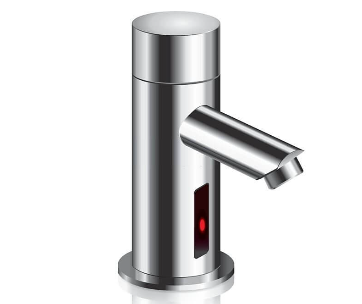
How to Install Touchless Kitchen Faucets
Notably, touchless kitchen faucets are more complicated than standard models. But that does not mean that you cannot install them on your own. These models have more technical elements that need your special attention.
It is also important to note that each brand comes with a different installation here. It is for that reason that we will not discuss the step-by-step installation process for touchless kitchen faucets. However, this should not worry you as you can easily find installation instructions and videos on the manufacturer's website.


Comments