
Coffee makers and mold-harboring travel tumblers are some of the items that give you nightmares when you think of kitchen filth. But you will realize that your kitchen has another gunky spot. And it is none other than the kitchen faucet aerator. While a faucet aerator is often pretty hidden and the filth not possible, it will mess up nearly all your kitchen activities. Of course, when your faucet begins to give a less consistent flow than it used to, the next DIY hack you should learn is how to clean a faucet aerator.
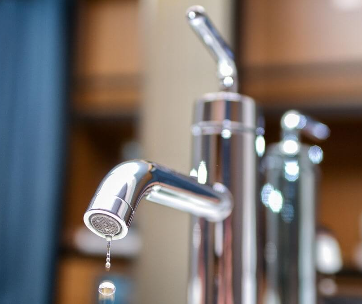
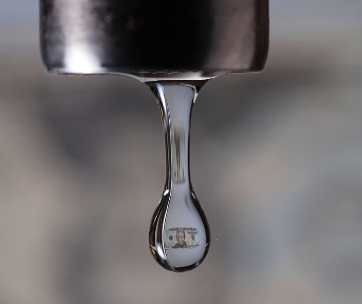
A low flow from your faucet is quite disturbing. Sometimes it goes beyond a low flow to a complete lack of water from the spigot. It can even get more irritating if your stream spits and splashes water uncontrollably when you put it on.
Whichever the pattern your water flow exhibits, the diagnosis is always the same; a clogged kitchen faucet. You cannot enjoy the activities in your kitchen space like you would want to. But before we look into how to unclog a faucet aerator, let us get some of the basics right first.
What Is a Faucet Aerator?
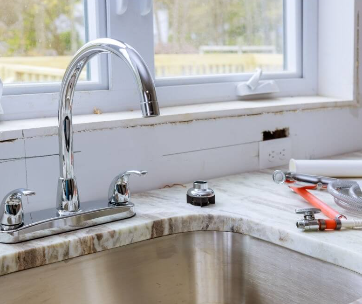
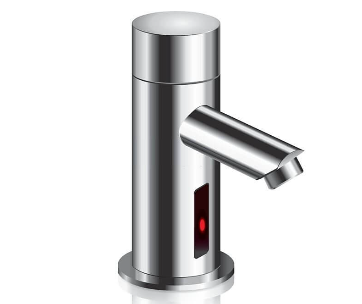
It is impossible to clean a faucet aerator if you cannot locate it. Unknown to many, you have no doubt been staring at aerators for as long as you have been alive. And for the record, a faucet aerator is a small, simple fitting always present at the end of the kitchen, bathroom, or other sink faucets.
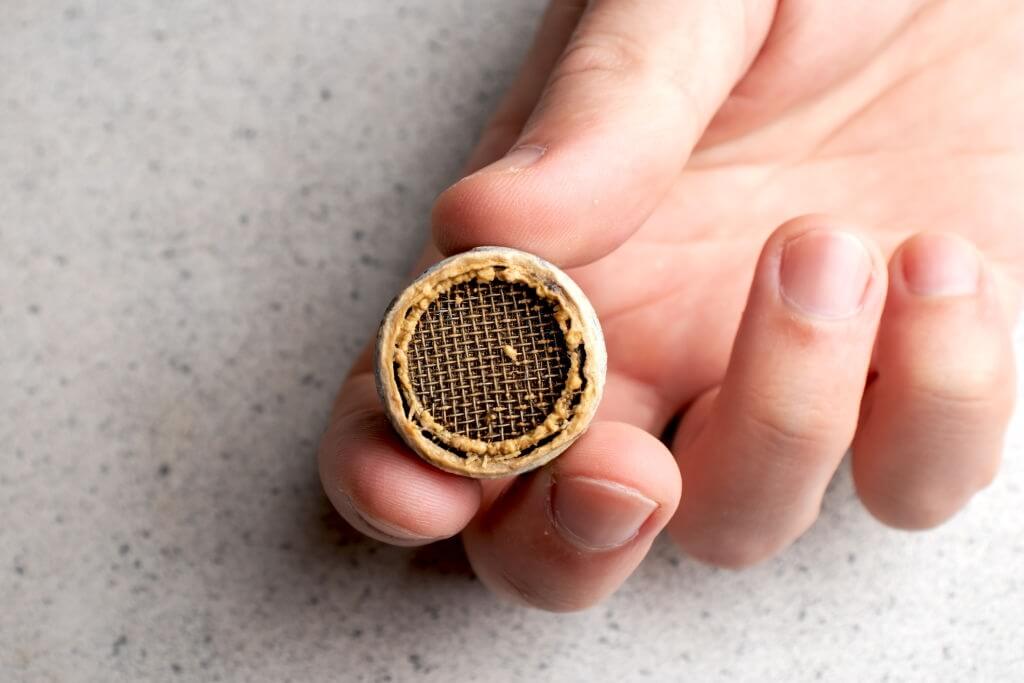
Characteristically, these simple fittings consist of a hollow cylindrical metal on the outside and a single-threaded end. The threaded end fits into the threads of your faucet spout.
As small as the faucet aerator is, it contains a variety of other smaller components. The cylindrical-shaped metallic section contains a rubber washer, a tiny screen, and a flow restrictor. Also present in the cylinder is an inner plastic housing that keeps the inner components in place.
What Are the Functions and Benefits of Faucet Aerators?
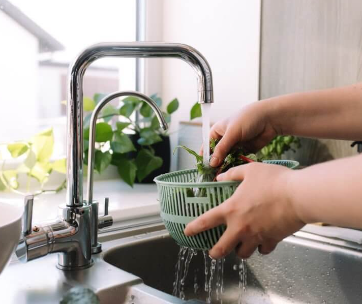
As their names suggest, faucet aerators help to add air to the water flow. It also breaks the water from your faucet into a bunch of smaller streams that are neither too dense nor too splashy. And by doing these, they create a consistent stream of water ideal for kitchen use.
To be more specific, a faucet aerator comes with the following benefits;
a. Saves Water
Look, like you would aerate your lawn, room, or wine, aerating your water means adding air into it. A faucet aerator does this pretty well to the water that comes off your faucet spout.
So, instead of water passing through the system as a single solid stream, the mesh insert or mesh stream breaks it into many smaller streams. At the same time, the restrictor controls the amount of water that passes through the spout. Undoubtedly, you end up saving water this way. How much water does it save? Click here to find out more
b. Reduces Splashing
Using a faucet aerator is an incredible phenomenon that reduces splashbacks when water from the spout hits your sink floor, cooking pot, or any container. Unlike when you do not use an aerator, using one saves you from splashes that would drench yourself or flood your cabinets and floors.
Since the aerator produces water mixed with air, it splashes less. Of course, that’s something you will undoubtedly want to enjoy.
c. Filters Water
We understand that your water is generally treated from the point of supply. However, you will still end up with small rocks, tiny debris, and bits of sand. Even more, they will always be mineral deposits, particularly if your area is notorious for hard water.
Interestingly, your mess insert ensures that you do not end up with sediments, dirt, sand, and other foreign objects in your cooking pots. And while this is the reason why faucet aerators get clogged, we present you with an easy fix in case you notice any issues with the consistency of your water flow.
Step by Step Guide On How to Clean and Re-install A Faucet Aerator
Cleaning a faucet aerator is pretty simple. However, you will need to follow the right steps to ensure that you do a perfect job.
These steps should help you through the cleanup process;
Step 1- Get The Right Tools and Materials
While cleaning and replacing a faucet aerator is undoubtedly a simple process, you need an assortment of tools and materials to accomplish the task effortlessly.
So, ensure that you have;
- A pair of channel lock pliers
- A sewing needle
- A toothbrush
- Vinegar
- Masking tape
- Paper clip or toothpick
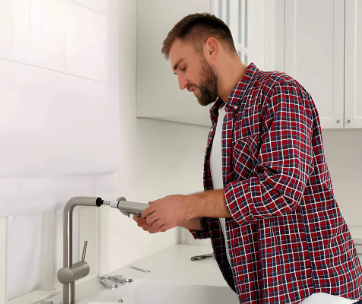
Step 2- Remove the Aerator
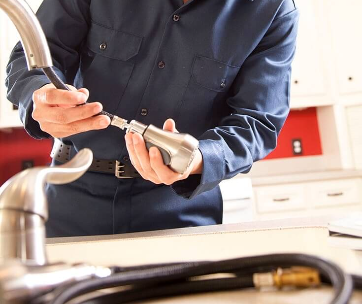
Removing the aerator is the first step towards cleaning the system since you cannot clean it from the spout. Interestingly, you can attempt to unscrew the aerator using your hands if it is not too old. Standing in front of your sink, try to unthread the fixture by turning it clockwise as viewed from the top of your spout.
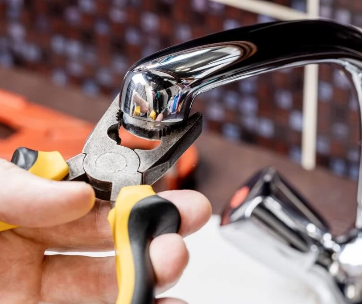
If you face any difficulty unscrewing it using your hands, any of the following options should help you get it out;
- Grip the faucet fitting gently using a pair of channel-lock pliers and turn. Do not use a lot of force lest you end up with a damaged faucet and aerator. You can try that from different until the aerator turns. Wrap the jaws of your pliers with a soft piece of rag to avoid smashing the system. Also, ensure that you only hold the metallic sections as plastic sections will easily crack.
- If that fails, apply penetrating oil to the edges. Leave the system for half an hour or so before you make another attempt using your hand or the pair of channel-lock pliers. Penetrating oil will potentially help to loosen sediments, rust, or mineral deposits that could prove stubborn.
- You can also use matches to heat the aerator lightly. Take care of any plastic parts that could melt on exposure to heat. The concept behind this is that metals expand on heating, which could provide some relief between the fixture and the faucet spout.
Step 3- Check for Dirt, Mineral Deposits, and Debris
Stick the small screwdriver or your little finger in your faucet spout and clean any deposits from the faucet. Gently rub the spout with your screwdriver and open water to clear off any loose sediments. Before running the faucet, lay a towel on your sink so that you don’t push the dirt into your drainage.
Step 4- Disassemble The Aerator and Clean the Parts Separately
The best way to clean your faucet aerator is to disintegrate it and clean each part individually. Thus, using a paperclip or a toothpick, disassemble the aerator. Take note of how the parts come together, as this will come in handy when reassembling the fixture.
Disassembling the system involves removing the washer, pushing out the insert, and getting off the mesh.
Step 5- Soak All the Parts in Vinegar
Soak the screen, insert, washer, and all the other parts in a container of vinegar. While it is advisable to leave all the parts soaked overnight, a few hours should be sufficient to dissolve all the deposits. Scrub each part with the toothbrush until clean. Using a toothpick, scrub off tough deposits.
Step 6- Rinse All the Parts
Run clean water on the parts to ensure that you get rid of all the sediments.
Step 7- Reassemble The Aerator
Take back the parts of the aerator into the cylindrical housing as you had taken them out. Note that if you make any mistake, the entire system will not fit. Among the parts that you will need to portion correctly include the washer, the insert, and the screen.
Step 8- Replace The Aerator
And with the cleaning and reassembly complete, it is time to replace the aerator. While many people often think that replacing the aerator is difficult, it is easier than removing a faucet aerator. Simply screw back the aerator in the spout.
Ensure that the threads get in right. Again, do not overtighten the fixture.
Final Words
You cannot put to doubt the advantages of a functioning faucet aerator. It comes in handy in filtering your water, eliminating splashing, and saving water. Which homeowner would not want to enjoy these? Interestingly, these benefits only come with a properly functioning aerator.
The above steps are your definitive guide to how to clean a faucet aerator. We hope that you can continue to enjoy consistent water flow in your kitchen. And if you think that you have questions about faucets or your kitchen in general, kindly reach us through the comment box below.

Comments
Nice piece, easy to understand.