
- Reading Time: 5 Minutes 30 Seconds
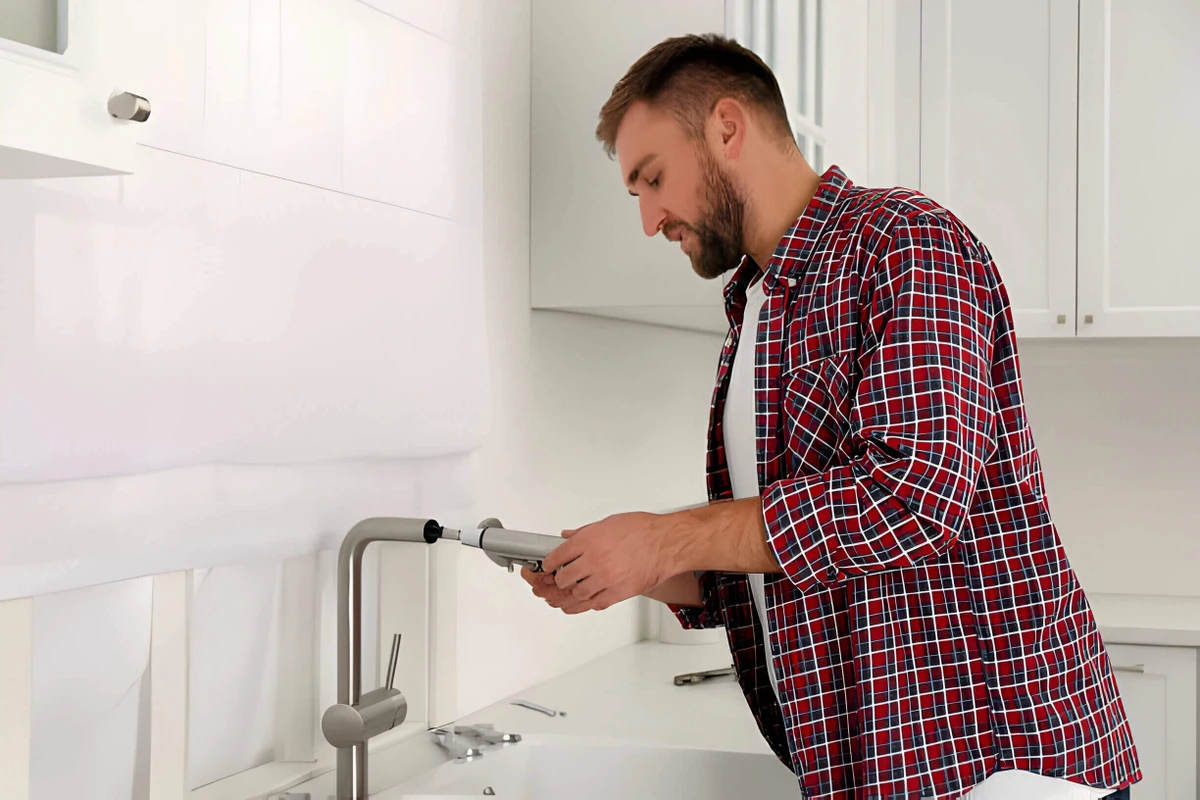
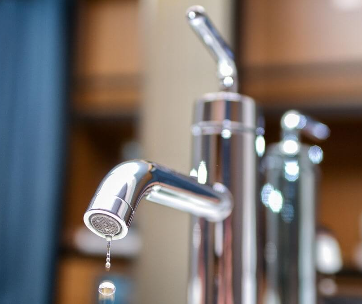
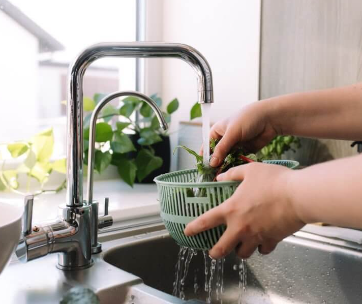
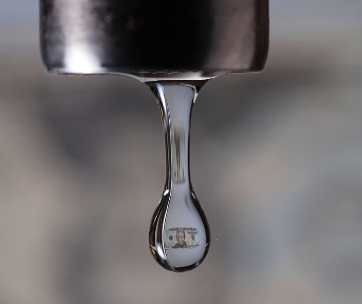
Whether you are building a house, doing a kitchen makeover, or just replacing your kitchen faucet, you will realize that the kitchen faucet with sprayer is currently the in thing. Most kitchen faucets come with a sprayer to make your work and life easy in the kitchen. The moment you are used to it, it will be difficult for you to adjust when it becomes faulty.
The kitchen faucet sprayer is a faucet spout with retractable hoses. Before this kind of faucet technology, many kitchen faucets had separate sprayers that were mounted on the faucet body plate or a separate hole on the countertop.
In this article, we are going to take you through a step-by-step guide on how to replace your faucet sprayer with a little refresher on how to fix the faulty one. You will realize that the process is very doable, and you don’t need a plumber to do the replacement or fixing for you. The point to note is that stand-alone kitchen faucet sprayers are still available in the market; you don’t need to buy an entire new kitchen faucet when the problem is only the sprayer.
How does the Kitchen Faucet Sprayer Work?
Before we go into details, we need to understand how kitchen faucet sprayer works. That way it will be easy for us to troubleshoot it or fix it. The kitchen faucet sprayer uses a unit called diverter valve which opens when it’s turned on. It then directs water away from the spigot to the kitchen faucet sprayer. You will realize that the pressure drops when you use the faucet sprayer compared to the faucet itself without the sprayer.
Finding the Right Parts.
One of the most important steps when it comes to faucet sprayer replacement is to identify the right parts. You must make sure that whatever you are buying is compatible with the kitchen faucet sprayer you have. If it means, going with the faucet sprayer to the store so be it. This will save you a lot of time and resources. Most of them use standard fitting of ½ or 3/8 inches. Kindly note that not all manufacturers will use standard fitting so it’s better to contact your manufacturer.
Some manufacturers offer a lifetime warranty on their faucets e.g., Moen. This can be a very nice deal especially if you are working on a budget. The economy is crazy, if you can get something for free, grab it and go.
One more thing you need to consider when looking for the right parts is your aesthetic. You don’t want to mix a stainless-steel faucet with a chrome finish faucet or a brushed nickel.
How to Fix a Faulty Kitchen Faucet Sprayer.
Just like any other appliance in the kitchen, kitchen faucet sprayers can be faulty. Once you realize that the sprayer is not working as usual, you need to identify where the problem is so that you can work around that specific problem.
One common problem is the appearance of puddles, for example, water under your sink, yet the drainage and all the water supplies are intact. Check your spray hose, it might be leaking, and it needs replacement. Sometimes leakage might come from the spraying head itself. It’s advisable to change both the spray hose and spray head at the same time to avoid inconveniences.
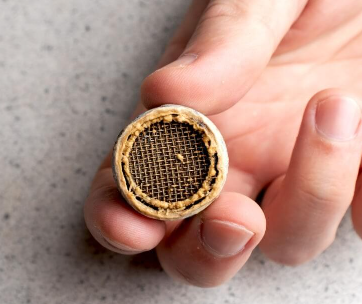
Another common problem is the reduction of water pressure, this is caused by a clogged diverter valve or sprayer head. People using hard water are mostly affected by the above issues. Sometimes, water reduction is caused by air getting into the unit from a hole. To solve the problem, the sprayer head or diverter valve is supposed to be removed and washed thoroughly with baking soda and vinegar in warm water.
Some of the sprayer horses refuse to retract when you have finished, this is due to the fall of the small weight at the bottom of the sink which helps pull the hose back. When this happens, you need to look under the sink and put it back up where it was.
How to Replace a Faulty Kitchen Faucet Sprayer.
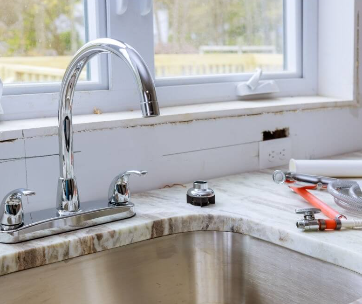
What you Need.
- New sink sprayer
- Channel type pliers
- Basis wrench.
A Step-by-Step Guide on How to Replace a Faulty Kitchen Faucet Sprayer
Compatibility
Always make sure your faucet has a diverter valve for the sprayer, its function is to direct water to the sprayer by shutting off water to the spout. When you press the sprayer handle the diverter valve senses the released pressure and it immediately shuts off the water to the spout.
Shut off the Water.
After checking the compatibility and you are sure that the sprayer and your faucet are compatible, always remember to shut off the water to the faucet. The water shut-off water valves are located under the sink, or you can use the main shut-off valve for the house. Drain any remaining water from the lines by turning on the faucet.
Remove Sprayer Flex Lines
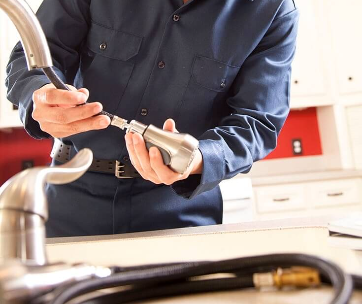
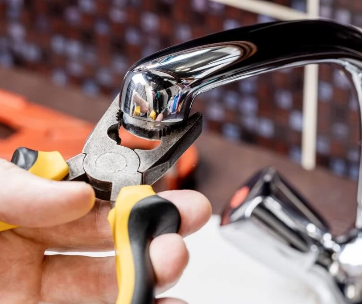
The sprayer hose is usually connected to sprayer lines by a copper tube with a brass nipple coming down from a faucet body. Using one pair of pliers, grip the brass nipple then unscrew the hose connector nut with the other pair of pliers.
When you have successfully unscrewed the hose connector, pull the sprayer out from above the sink. If you are not sure of your sprayer compatibility, this is the time to go to the hardware or store with the removed sprayer to purchase a new one.
Replace the Sprayer housing.
You will be required to replace your sprayer housing only if the one you have is worn out. Using a pair of pliers, remove the old one by unscrewing the mounting nut from under the sink. Always hold it steady as you loosen the nut because the housing might turn with the nut. Install the new sprayer housing by inserting it through the hole on top of the sink, starting with the tall side. The housing has a gasket around the base to help it seal. From under the sink, use either the basin wrench or channel-type pliers to tighten the mounting nut onto the sprayer housing.
Replace your New Sprayer hose.
From the top of the sink, insert your new sprayer hose through the housing, and ensure it is positioned well and ready for connection.
Connect the Sprayer Hose with the Faucet Body.
From under the sink, attach the spray hose with the diverter nipple from the faucet body. Using two pairs of pliers, hold the fitting and tighten the hose mounting nut.
Turn on the Water
Before you go to this step, make sure that everything is tightened up to avoid any leakage. Turn on the water from the water shut-off valve you used earlier.
How to Replace a Diverter Valve
There are so many reasons your diverter valve may stop working. They include low water pressure, and valve clogging due to dirt or mineral build-up due to prolonged use of kitchen sink faucet without cleaning. Most of us might be wondering, how do I know that my diverter valve has stopped working and not the whole kitchen sink faucet? Worry not, if you get water from the faucet and not the sprayer then it’s about time you change your diverter valve. Most times the diverter valve is supposed to be cleaned to solve your biggest problem. So, in case your diverter valve needs some fixing, below is a step-by-step guide on how you should do it.
- Turn off the water to the sink and drain off the lines.
- Remove the spigot by screwing it off. Kindly note that others are held in place by some small set screws. All you must do is just to search for and loosen the screw first.
- The diverter is right under the spigot or sits sideways in the front or back of the faucet base.
- Lift or pull out the diverter valve once you have identified yours.
- Replace your old diverter valve with a new one.
- Put back the spigot by reversing the removal procedure.
Conclusion
There you go, a step-by-step guide on how to fix or replace a kitchen faucet sprayer. Be sure to check out more articles on how we make living easy for you and your family on www.kitcheneminence.com. Cheers!

Comments