
Delta kitchen faucets are among the most popular faucets on the market, but even the best products spoil over time and require some repair. A faulty faucet can drive a person crazy, despite being among the least troublesome to repair.
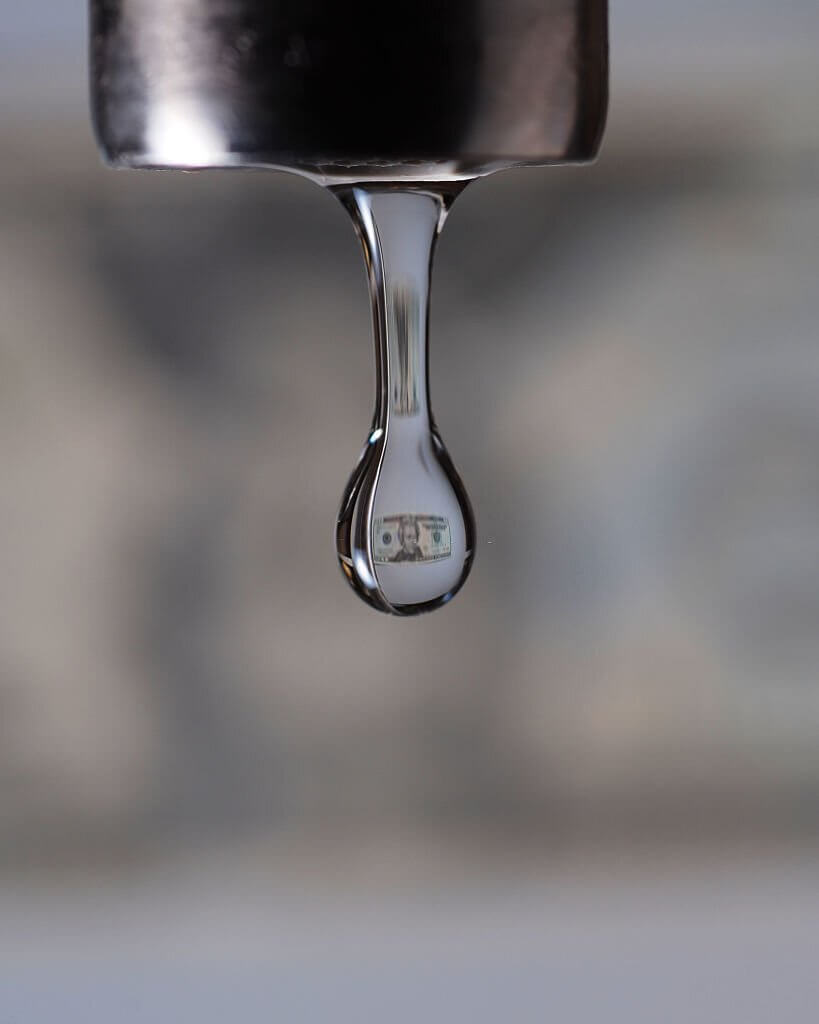
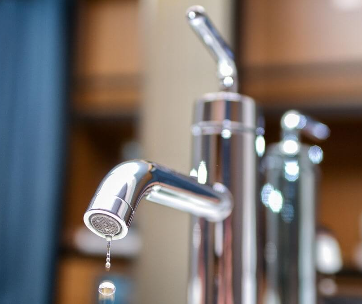
When your faucet starts to drip, normally, it would be one or both gaskets or springs in the valve seat that are worn out. But even the smallest faucet can drip up to three gallons in a day. And for the sake of water bills, it would be wise to fix the problem earlier.
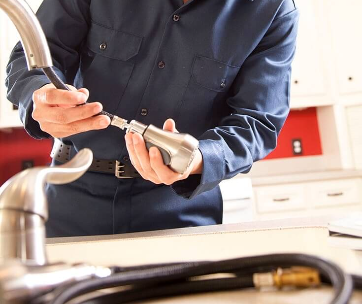
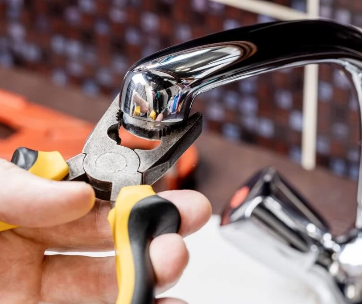
As a general rule, you should find a repair kit for your faucet at a hardware store, and if not, you can always buy a universal repair kit; it works just as well. While calling in a plumber is the obvious option, repairing it yourself isn’t as hard as one might think.
Before You Begin
Place your hand below the source of the drip to determine where the leak is coming from. If the water is warm, the leak might be on the warm side; if the water is cold, then you should consider the cold side as the problem. But there is another possibility – both sides could also be leaking, but it doesn't happen that often. Nonetheless, even if it's just a single valve that's the issue; most people prefer replacing the entire faucet at once.
Check beneath the sink to locate the shutoff valve on the side (cold or warm) you're repairing. The valve should have a round handle or a lever or knob. Rotate the handle to the right till it stops. Open the side of the faucet you're fixing to confirm the water is turned off completely.
If your faucet doesn’t have shutoff valves beneath the sink, turn off the water to the whole house from the main source, then turn on both sides of the faucet to relieve pressure in the supply lines.
Tools and Materials You’ll Need
- Adjustable wrench
- Screwdriver
- Plumber’s grease
- Replacement stem (when required)
- New rubber seat and spring (one set for a single handle)
Step by Step Guide
1. Remove the Faucet Handle
Using a screwdriver, slacken the handle to the faucet to remove the screw or Allen wrench to remove a set screw on the side of the handle. Raise the handle straight up to detach it from the faucet stem.
N/B: You might need to remove a decorative cap on top of the handle to find access to the handle screw.
2. Remove the Bonnet Nut
Slacken the bonnet nut connecting the faucet stem. Using tongue-and-groove pliers or an adjustable wrench, rotate the nut to the right. Unfasten the nut entirely and detach it from the stem.
3. Remove the Stem
Please take note of the stem's position before you remove it. You need to install it in the exact position for a smooth operation when re-installing. Normally the stem has one or more tabs that can fit into the notches inside the stem housing to help align the stem, but some get the stem backward. It might be beneficial to take a photo of the stem in advance for reference.
Pull the step up and remove it from its housing. You can use pliers (if required) to grip the spindle above the stem.
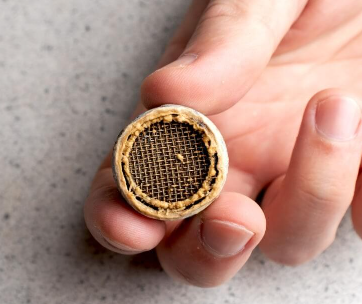
4. Remove the Valve Seat and Spring
Locate the neoprene valve seat inside a hole beneath the faucet housing. The neoprene valve seat is a tiny, black rubber cap with a hole on top. Positioned inside and beneath the seat is a tiny metal spring. Take it out of the seat and spring by slipping a small screwdriver or Allen wrench inside the hole at the top of the seat and pull up both parts simultaneously.
Take note of the spring's direction within the valve seat. The spring should be faintly bigger at the base than on top – where it fits into the seat. It is essential you re-install the new spring and seat with the same procedure or direction.
5. Install the New Seat and Spring
Using a screwdriver or a wrench, position the new seat and spring in the exact position the previous seat and spring were, then guide the new seat and spring inside the hole. Ensure they both fit perfectly all the way down in the hole. Remove the screwdriver and check if the seat is placed appropriately.
6. Re-install the Stem
Next, apply just a small amount of plumber's grease onto the O-ring at the bottom of the valve stem. If you prefer, you could always replace the O-ring (it can be accompanied by the stem and spring kits) or the whole stem.
Place the stem into its housing, positioning the tabs onto the stem with the slots in the housing. Push the stem far down till it comes to a halt. Next, re-install the bonnet nut and ensure it's tight (you can use pliers). What's more, do not overtighten the bonnet nut; overtightening can damage the stem housing.
7. Check For any Leakages and Re-install the Handle.
Turn back the water from the faucet by rotating the shutoff valve anticlockwise till it stops or turns the water on from the main source. Check for any leakages; tighten the nut till the leakage stops; remember, never overtighten the bonnet nut. Place the handle on the stem and seal it with a screw.
Beyond Repair
If your faucet is beyond repair, it might be time for a replacement. Select a faucet compatible with your sink's current cut-outs for ease of installation. Check how many holes your sink has from beneath; standard faucets normally have 1-3 holes, depending on the number of the holes. If you want to upgrade, you can replace the entire sink and purchase a sink that suits your requirements.
Replacing the Faucet Valve Seat
In case your faucet is leaking from the lip even after servicing the valve, then the faucet valve might be cracked. The valve consists of a metallic component that is threaded and screwed into the valve base. You'll have to remove the valve one more time then drive the wrench deep inside the valve housing till it fills the shape.
Next, turn the wrench to the left to detach the valve seat. You can find replacements at your nearest hardware store. You can carry the faulty faucet when going to the store to be sure you buy the right match.
When is The Right Time to Fix My Faucet?
A kitchen faucet is an essential part of every house, and you must always keep it in the best condition. A good sign that you should replace your faucet is when it starts to show signs of wear and tear or when it becomes a problem and affects the rest of the house.
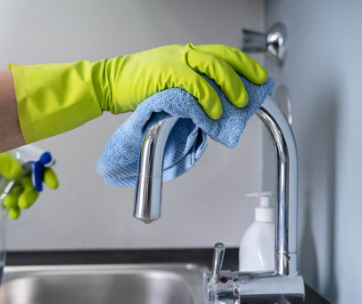
With time, the hardware within the faucet can start going bad. Common issues affecting faucets include corrosion, mineral deposits on internal parts, defective gaskets, etc. Overall, leakages from the nozzle or base mean the hardware is damaged.
Faulty faucets can add to your water bill, become a nuisance, and cause household inconveniences. As water drips, it can accumulate to over 100 gallons in just a month. In addition, when water leaks at the back of the sink and countertops, it can cause molds to start growing or damage the cabinets. Turning a blind eye on a faulty faucet can turn a small repair issue into a plumbing repair project or installing a new faucet.
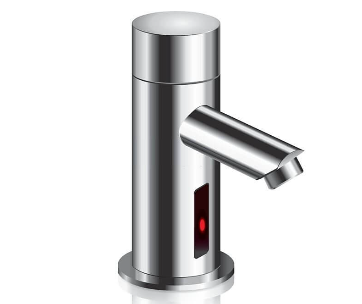
How Do I Remove a Delta Touch Kitchen Faucet?
The process is quite similar to the typical models. Many faucets have a screw-in plate that secures it under the skin. The faucet, however, won't lift out as fast. Mainly because of the adhesive that secures the top part of the faucet.
You can use a solvent or try prying it off to remove the adhesive. Wobbling the top unit may loosen the grip a little bit. What's more, be extra careful not to damage the faucet. Delta faucets can be complex at times, requiring an expert, but they can be costly.
When Should I Call a Plumber Instead?
At times, all that is required is a willing attitude and pliers. And on other occasions, it would be preferable to balance your DIY aspirations with common knowledge. Ensure not to scratch your lovely sink using the pliers just because the faucet won’t loosen. With the badly corroded bots, it is recommendable. You get an expert.
Wrapping it Up
Apart from being a nuisance, a leaky faucet constantly reminds you that you’re adding to your bill, and additionally, the dripping sound can be extremely annoying. Do not put up with it. Repairing a faulty faucet is a simple and cheap project.
As soon as you spot the first leak, do not force twisting the faucet in an effort to fix it – in most cases, the faucet ends up being damaged more. Instead, try replacing the seals that might be failing to stop the water flowing through the faucet. But if your faucet is old, consider replacing it from the first sign. For more information on faucets, do not hesitate to reach us.

Comments