
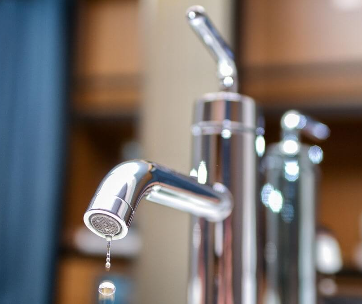
Touchless kitchen faucets are commonly known to many as sensor-operated faucets. They are currently the classiest kitchen faucet, but they are extremely affordable. Even with all their exquisiteness, they come packaged with an array of benefits coupled with each, some of which include saving water, being user-friendly and hygienic for all uses.
However, for most people who own this efficient faucet, the main challenge lies in knowing how best to maintain it, practical ways of installation, or even how best to change the batteries and the frequency of doing so. It is important to state that not all touchless faucets use batteries; some are electrical.
Although there is no big or significant difference between an electrical and a battery faucet, one of the greatest challenges lies in those touchless batteries do not last for a very long time. Most people who may not fully know how it operates are more likely to mistake the end of battery life for faultiness.
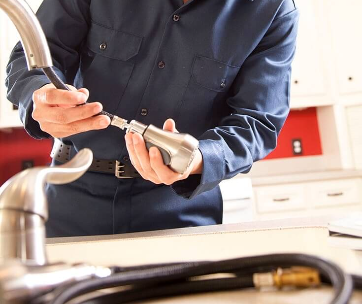
However, the beauty is that it is very easy and affordable to replace the batteries, which can be done with ease and without the help of a plumber.
Even though it is easy to remove and replace the batteries, one cannot just remove and replace without the proper guidance or taking the necessary caution.
How Does One Know That Their Battery Requires Replacement?
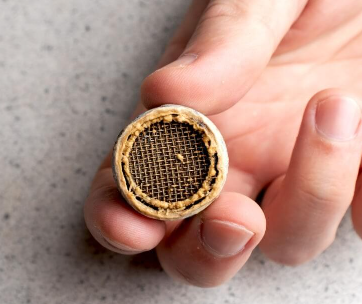
Every touchless kitchen sink faucet comes installed with four alkaline batteries that are used to run the whole motion sensor.
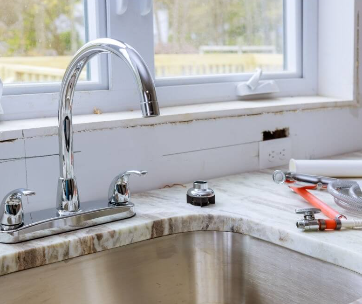
In most faucets, the battery pack is located in a cabinet somewhere beneath the sink.
Most of these batteries are powered by lithium, which is very effective in releasing the power evenly, making them very long-lasting for about one year and a few months. Some can even last for two years, depending on their quality. However, the ultimate determinant of how long the batteries last usually is the frequency of use of the touchless faucet.
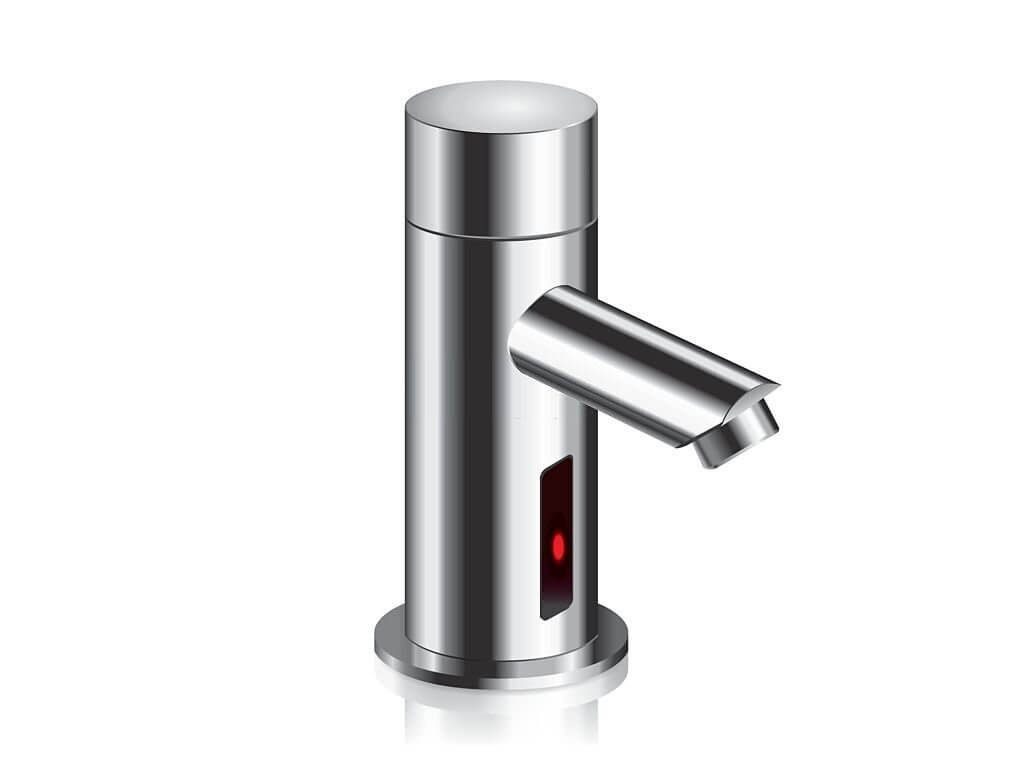
Every touchless faucet kitchen is installed with a light that helps to indicate whether the batteries are okay or not. Usually, when the batteries are very low and drained, the LED lights on the kitchen faucet start to blink red. When they are completely dead, the LED will only show red and not blink at all.
However, some faucets start to make some beeping sounds, and soon after, they stop being responsive.
What You Will Need When Replacing Touchless Kitchen Faucet Batteries.
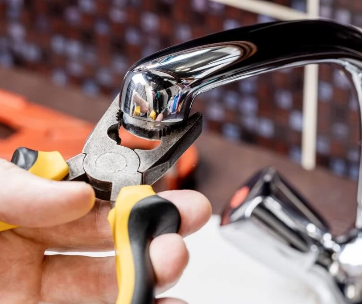
- Screwdriver - This is a tool that is used to tighten or remove screws. It has a handle shaft, and its tip is made in such a way that it can be well fitted in a screw head. It will be useful to remove the screws that are found on a battery pack.
- A dry wash-clothe - It is better to look for a cotton wash-clothe that is highly absorbent and can clean surfaces dry. You will need this cloth to clean and dry your surface before you start to unpack the batteries.
- A new pair of batteries - Because you are replacing old batteries, you will need a new set of batteries. Remember to check the manufacturer's specification to make sure you get the right ones for your device.
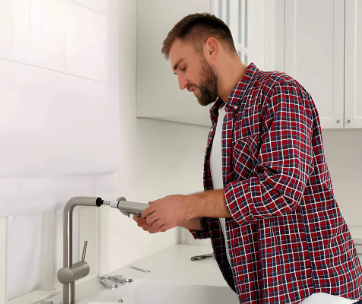
How Do You Now Replace the Touchless Kitchen Faucet Batteries?
Drain the sink area
Before you do anything, it is always important to avoid something that would cause irreparable damage to your faucet. Therefore, begin by drying out your working area and ensure that it is free of water or any other liquid as well as sharp objects.
Often the presence of water and sharp objects increases the possibility of having your faucet damaged or suffering from a short circuit.
Locate the battery back
You can never replace the batteries if you don’t know where the batteries are located.
For Delta Faucet, the pack is right beneath the sink, while Kohler’s Malleco faucet has the batteries mounted on the sink with a screw. The Kohler Barossa Faucet has its batteries placed on a valve box.
Be sure to get the location right so that you don’t open the wrong places and thus increasing the chances of damaging some other parts of the faucet.
Remove the screws
Most battery packs, if not all, are fitted with screws that help them remain well-knit and tight. Using a well-dried screwdriver, remove the screws found below the faucet around the lever. There are about 2-3 screws on each faucet in usual circumstances.
For faucets that are not fitted with screws, the only thing to do is lower and loosen the lever.
Remove the covering
Usually, the covering is well fitted with screws to help protect and secure it. Once the screws are untightened, the covering is exposed, making it easy to remove.
Removing all the covering leaves the battery pack open, and therefore you can identify the type of batteries that the faucet uses.
Sometimes in some of the faucets, you might find some extra screws just behind the covering, and therefore you also need to loosen the screws. In cases where there are no extra screws, there is a Snap-on cover directly below the batteries.
In both instances, unscrew or remove the Snap-on cover until you are able to see the batteries.
Identify the faucet battery cases.
Every faucet has a battery case located in the boy of the faucet. Each case has some stickers that are either numbers or letters, and they are fitted to help identify the kind of battery they are holding. Some of the cases may have a negative or a positive sign (-, +) mainly to show the right way to insert the batteries and make it easy to identify for its users.
Use the screwdrivers to remove the battery case since it is also fitted with screws to help secure it. Once the screws have been removed successfully, the batteries will be visible, therefore making it easy to remove them.
Insert the new batteries
The most touchless faucet has AAA batteries, but it might be important to ensure that you acquire the right ones before replacing them. Some touchless batteries might have different batteries because they might become faulty if placed incorrectly.
Put each battery properly, ensuring that the negative side of the battery matches with the one for the battery case, which is mostly indicated and the same way for the positive side.
Confirm if the batteries have been placed well, and then proceed on to the next thing.
To ensure this has been done properly, you might need to confirm if you have placed them the same way with the old batteries. You can consider taking a picture of how the old batteries are placed so that you can confirm after fixing them.
Place the battery covers.
Having placed the battery properly, now return the covers. Fit them firm and securely with the screws. Make sure that you have placed it well and in the right position and that the screws are properly fitted.
Also, place back the spout of the faucet body and also make sure that they are fitted properly with the screws.
You might want to refer to the previous step on removing the covering. Make sure also that the covering is not damaged or interfered with before placing it back. Also, if there's any liquid, make sure it's properly wiped to prevent it from rusting and malfunctioning.
Place the temperature lever back into position.
Usually, temperature levers help to control the water temperature. Therefore, it is important to ensure that you have placed it well on the right side of the sink faucet. This is an easy step because once you are done, you can easily snap them back into place once the whole process is complete.
With the screws, you can make sure that both the lever and the faucet are well fitted to avoid water leakage or damage from happening.
If you have turned off the main source of water, you can turn it on again and make sure you wait for about two minutes before you open. This is mainly to help stabilize the water pressure and to ensure that you have checked all the necessary details before finally opening the faucet again.
Precautions You Should Take When Installing the New Batteries?
- Always ensure that you have unplugged and switched off all electric power sources before removing the batteries. The truth is, any electric gadget or even non-electric gadget combined with water can become such a major menace. Therefore, have all power sources closed to avoid cases of electrocution.
- Always use dry surfaces to re-assemble your faucet to make sure that there's no water or any sharp object that might be a threat and thus cause damage to the faucet. Sometimes if water droplets get into the faucet, there's a risk of electrocution, rusting, or even faultiness, causing the taps not to function properly.
- Always take note of the right screws for each section. This is to avoid mismatch when putting the faucet back and also to ensure that everything is back to its rightful place and thus avoid malfunction or damage to the major parts of the faucet. Sometimes it might be advisable if you take a picture of how each part was assembled so that you can check and refer to it when putting the pieces back. This should be with both the screws and the batteries. Having the batteries in the wrong way might cause the faucet not to function properly, and therefore it's appropriate to ensure that all is in place.
Final Word
Replacing the batteries shouldn’t give you such a headache, and that's why we have given you a step-by-step guide to ensure that your journey is seamless. If the batteries are well fitted, your faucet should be functioning properly and with ease, just like before.
However, if the faucet doesn't function, it could be a problem caused by other major issues, and therefore there's a need to check on the functionality of all parts. If there's damage on one part or another, make sure that you have replaced them immediately mainly to avoid further issues and ultimately an alteration in the overall function of the faucet.
Sometimes it is also advisable to check on the user manual that usually comes with every faucet to ensure that you follow the appropriate steps. Sometimes these might differ from one make or brand of a faucet to another.


Comments