One of the challenges that many homeowners go through from time to time is the low water pressure in faucets and other water points. Low pressure as a result of high water demand is universal and occurs across the world. But low pressure from one or a few faucets is often a big concern. It even gets worse when you are sure that there is a sufficient water supply in your line, but you cannot just get as much as you need from your kitchen faucets.
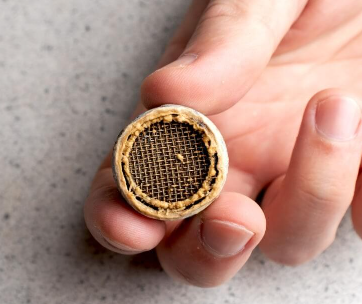
Interestingly, this is often a result of faulty faucet aerators or clogged faucet aerators. When you begin to experience faults and clogs in aerators, the main culprits include sediment buildup, broken rubber gaskets, and mineral deposits.
For this reason, you should learn and master the basics of how to remove and clean a faucet aerator. And if you think that you need advanced plumbing knowledge to do this, you are wrong.
The truth of the matter is that any novice DIY enthusiast can successfully remove and replace a kitchen faucet. Even more, this is possible without any advanced tools and plumbing equipment.
The process of correcting your faucet output is a step-by-step process. While it most often ends with replacing the entire faucet aerator, sometimes you will be lucky to perform just a few repairs and or simply cleaning the faucet aerator.
8 Steps to Follow When Removing and Reinstalling a Faucet Aerator
Comrades, you can quickly remove and replace your kitchen faucet aerator by yourself. Doing so helps you to save money on plumbing costs and also enjoy a consistent water supply.
The following steps should help you remove and install a faucet aerator;
Step 1- Remove The Old Faucet Aerator
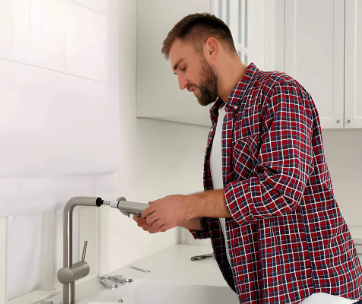
Restoring the flow of water in your kitchen or bathroom faucet begins with removing the old faucet. This is something that you will need to do irrespective of whether you only want to clean your aerator, make repairs, or replace the aerator.
The following instructions will help you remove the aerator effectively;
- Ensure that you have all the right tools, materials, and equipment. These should include a pair of tongue-and-groove pliers, a piece of rag or masking tape, penetrating oil, and a hairdryer.
- Try to remove the faucet aerator from the spout by hand. Interestingly, you can easily remove the aerator by hand if it was threaded by hand and is yet to gather sediments. You can only try this if both your hands and the aerator are dry.
- Pass this step if hand removal was successful. But if it was not, use a pair of tongue-and-groove pliers to do the job.
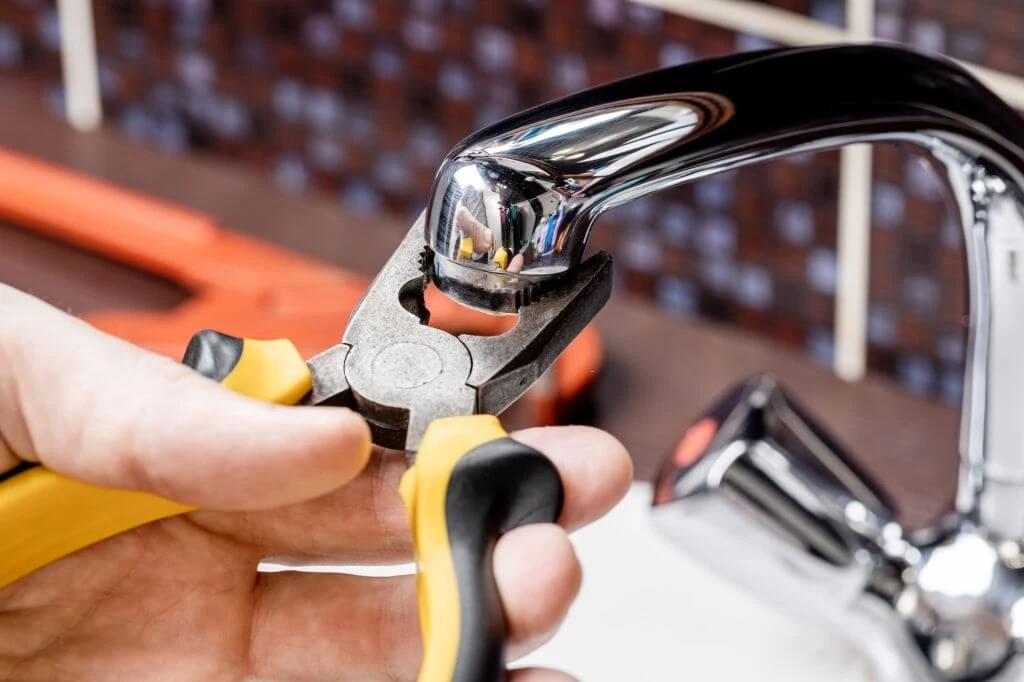
Using a pair of pliers is a very delicate process that you need to handle with utmost care. Please wrap a masking tape or a piece of rag around the aerator to protect the metallic sections from the pliers' gripping jaws. Grip the aerator with the pair of pliers without gripping the faucet spout.
Turn the pliers and the aerator anticlockwise and see if it unscrews from the spout. You can try this from various positions and see what works. However, ensure that you do not overtighten your grip on the aerator.
- Still, if you are not successful up to this point, slightly heat the aerator using a hairdryer or a lit match. The objective of doing this is to loosen it and get it out without any damage to your spout or the faucet.
Whichever heating mechanism you use, apply it in moderation. Too much heat will melt or burn rubber washers and plastic parts. Overall, avoid using heat on plastic components.
- What do you do when heating fails? Of course, heating your aerator can still fail. When it does, your final alternative is to use a penetrating oil of your choice. Applying oil on the threads and letting the system sit for some minutes will help loosen the threads. You can then wipe off the oil before you use your pliers again. Using pliers on an oily metal is a recipe for slips and possible injuries.
Step 2- Remove Any Surrounding Components
While removing the aerator often seems enough, sometimes the clogging spills over to nearby components. Thus, you may need to get off the other elements too. One of the parts you want to remove is the gasket.
The gasket is a small piece of rubber placed between the aerator and the faucet's tip. You can quickly get it out by sticking the tip of your finger inside the faucet.
Step 3- Inspect All the Parts
A faucet aerator looks pretty small and simple in structure. However, this miniature component should not deceive you. It contains several small parts that you will need to pay a detailed look at for possible damage and repairs.
The various parts of a faucet include the aerator body, bushing, screen, washer, mixer, flow restrictor, and outer housing. All these parts have unique functions, and it is the health of each one of them that will determine whether you will only make repairs or replace the entire system.
Step 4- Check for Compatibility
Once you find out that the only solution to your low water pressure is a new faucet you need to plan on buying a new one. And compatibility is the most vital feature to look out for during your shopping experience.
Of course, buying a new faucet aerator is not a walk-in-the-pack. But it is still something that you can easily handle without the assistance of a professional. If you are buying from a physical store, carrying your old aerator could be a good shortcut.
On the other hand, buying online will mean knowing your faucet's model number. Shopping blindly could make you end up with a faucet aerator that will either fail to fit or obliterate your faucet. And who wants to buy a new faucet when an aerator replacement can serve you for a couple of years or so?
Look out for the similarity in both the male and female threading on your old and new aerator. You may also need to look at the types of slots and grooves on the new and the old systems.
Step 5- Clean The Aerator
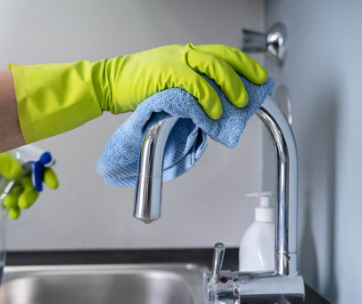
If you plan to reinstall your old aerator, you will need to clean it before you do so. We have discussed the process of cleaning a faucet aerator here. So, we will not go into the details again.
Ensure that you follow the outlined process if you want to make your aerator clean before reinstallation. For newly bought models, wipe off any dust.
Step 6- Dry and Lubricate All Parts
Like nearly all plumbing applications, joining dry parts is highly recommended. So, you can use a dry piece of cloth or towel to dry off your aerator and the tip of the faucet. You can then apply a small amount of lubricant.
You can use a non-hardening silicone-based grease or pump seal lubricant for this purpose. Lubricating the components will help maintain the health of your faucet. Also, lubrication prevents the need to use pliers or heat in the future. When lubricating, only apply a lubricant on parts that will be in contact with each other.
Step 7- Replace A Kitchen Faucet Aerator
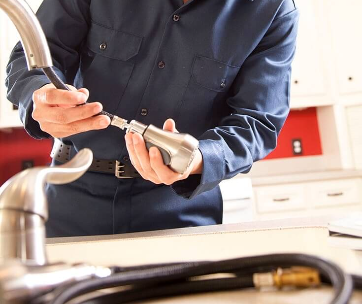
Replacing a kitchen faucet aerator is one of the simplest plumbing activities. You may not need to use pliers or any tools. The following steps will come in handy;
- Lay a washcloth or a towel on your sink drain.
- Flush off both lines by turning on both the cold and hot water controls. The washcloth or piece of the towel will hold any sediments and debris from the pipes.
- Screw-in your replacement aerator into the system by hand.
- You can leave it that way or opt to fasten it further using a pair of pliers.
Step 8- Test Your System
And finally, you will need to test if your aerator works. You can do this by turning on the hot and cold water lines together in turns. You will see a consistent and controlled flow if you did everything correctly. A good aerator should not show signs of splashing or spraying.
Again, lookout for any signs of water leaking from the corrections. You can tighten the aerator further using your hands or a pair of pliers in case of any. But you need to ensure that you do not overtighten your components.
Final Words
While many faucet aerator service operations often end up in complete replacements, many others do not get that far. Therefore, you will often end up correcting your water flow by unclogging your aerator or changing just a few parts.
But now that this guide addresses how to remove and replace a faucet aerator, you should no longer bear the inconvenience of slow and inconsistent water flow. We, at Kitchen Eminence, now hope that you can handle anything relating to your faucet aerator. We wish you the best of luck.
Reach out to us through the comment box below if you have any concerns about this or related projects.



Comments